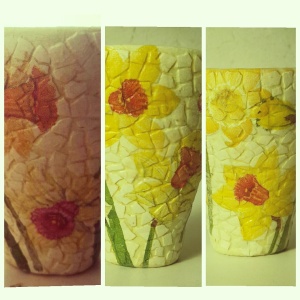
Hello folks!
I have been obssessed with decoupage and its techniques for couple months ago, and I liked to explore new ideas related to it.
Today, I’d like to will show you a new technique we can use with our decoupage projects “implementation of decoupage on eggshells“.
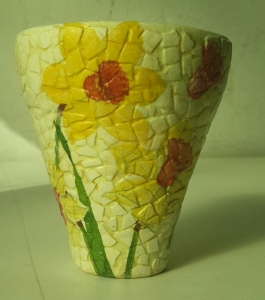
First, you will have to make sure the following materials are available:
Decoupage papers “Napkins”
Eggshells
White glue
Objects: vase, wooden box or panel, pot….
Instructions:
A- I began this project with Collecting 3-4 eggs; (drain and clean them nicely) :).
B- I have selected a clay pot/vase for this project.
C- I began refinishing the clay in three steps:
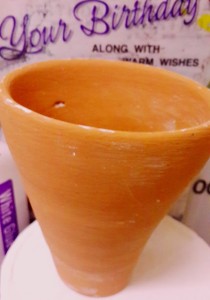
1- I used a fine sandpaper to make the surface smooth.
2- Apply to coats of white acrylic paint (OR you can use Gesso).
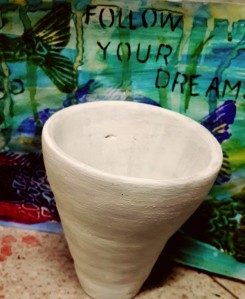
3- Sanding it once more, to get rid of extra dried paint.
D- Gently crush the eggshells into small-medium pieces.
E- Spread white glue on small portion of the surface and place the eggshells on it firmly with finger tips.
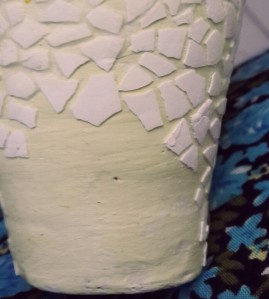
F- Repeat the progress until cover the whole surface with eggshells.
G- Allow the glow to dry.
H- When it dry completely, give it a coat of gesso or white paint.
Now it is Decouapge time!!
I have selected nice napkin with flowers,,cut the designs you want 🙂
NOTE: Decoupage papers normally come in three layers, we need to get rid of two layers and use the layer with prints on it, and cut the shapes by scissors or better with your hand.
Apply a coat of glue again and stick the napkin to the object.
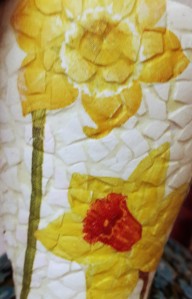
Press gently using the brush to push the napkins into the small gaps between the shells.
The mosaic effect will appear.

